Mongolian Beef Recipe
This post will help you make your very own takeaway style crispy Mongolian Beef in your own home.
Save money on take-outs and make it even better. This recipe is quick and easy and you can have this delicious speciality on the table in less than 15 minutes.
SAVE THIS RECIPE!
Chinese Food
I have been to China many times for business in the past, when I was working on building an FPSO for a Brazilian client. Whilst there I was working on a shipyard where we were fed typical Chinese food every day in the canteen at lunchtime.
Some of the food was very good, and their version of sticky Mongolian beef was one of my favourites on the menu. It was not so crispy, but it was tasty.
Some of the others were not so inviting:
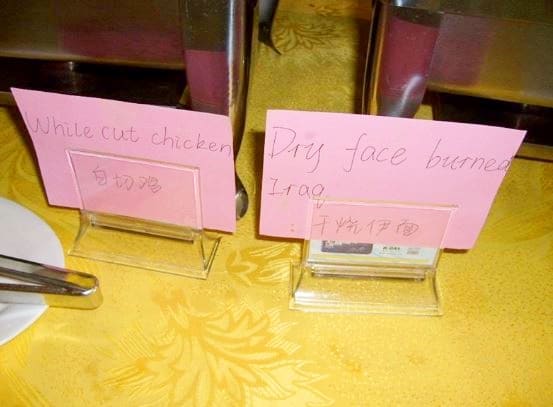
Because the translations were not so accurate 😃 you were never really that sure of what you were actually eating, so we tended to stick to what we knew was OK, rather than trying the entire menu.
When you see a menu like this one, you will understand what I mean:
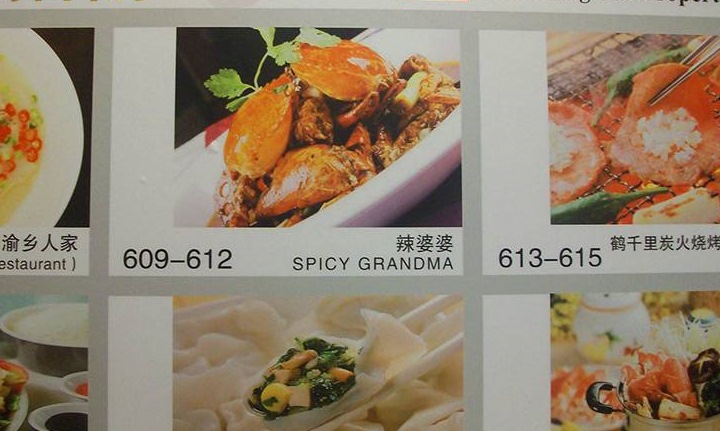
But then, as you know, Chinese food is very different all over the world, and seems to be aimed to suit the particular local population where is is sold. A Chinese menu in the UK is very different to a Chinese menu in the Netherlands, for example.
In the latter, you will find the menu will most likely be mixed with Indonesian food. And each country has its own inventions of Chinese food that you will struggle to find in China.
However, Mongolian beef is one of the dishes that was available there, in our Shipyard canteen, even if it was probably called something else (I would not dare to guess what it was known as now 😃).
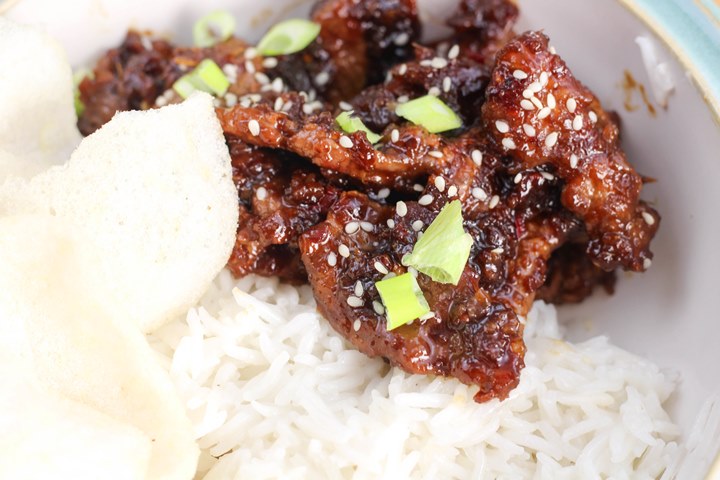
Recipe tips for Crispy Mongolian Beef
The secrets to this recipe to get crispy and sticky Mongolian beef are as follows:
- Use some good quality beef, like sirloin, rump or flank steak. It needs to be tender when cooked and it will not be in the pan for long.
- Use low-sodium soy sauce or a Teriyaki soy sauce. This will prevent the sauce from being too salty.
- Get a good covering of cornstarch or cornflour on the beef. This will help make the beef crispy when you fry it.
- Make sure you adjust the taste of the sauce to suit your preference, using sugar or vinegar as necessary
Make your own takeout
In these days of social distancing, as I write this post, it is great to be able to re-create your favourite takeout meals at home.
Not only does it save you money, but quite often you can make it better than they do in the restaurant with a good recipe. And this one really is quick and easy. It probably costs less than 2,50 Euros per person to make at home.
I hope you enjoy this recipe. Please let me know how you get on in the comments section below!
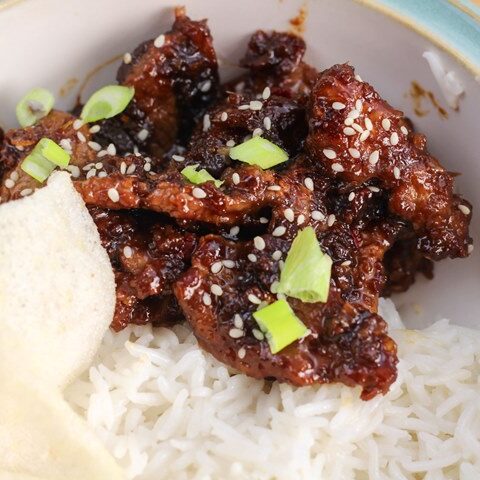
How to make crispy Mongolian Beef
Save time producing tasty food for your family with Gav’s Weekly Meal Plan!
Just 19 US $!!

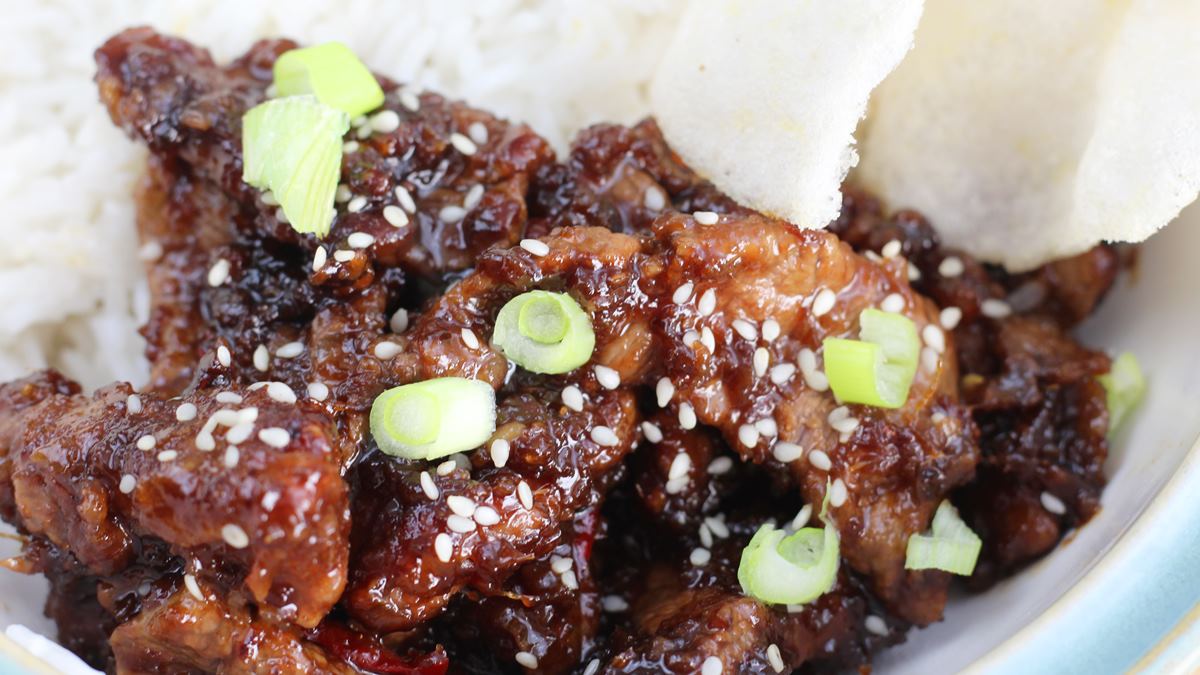
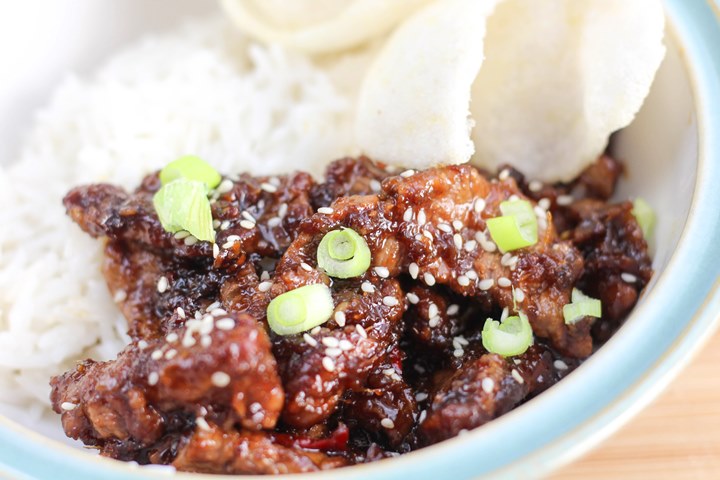
Crispy Mongolian Beef
This super tasty crispy Mongolian beef recipe will help you make your own tasty take-outs at home, at a fraction of the cost. Serve up with some coconut rice or Chinese fried Rice.
Ingredients
- 500g Sirloin steak
- 60g cornflour
- 3 tbsp vegetable oil
- 100 ml Teriyaki soy sauce (or low sodium soy sauce)
- 70g brown sugar
- 2 tbsp olive oil
- 4 cloves of garlic, minced (about 1 full tbsp)
- 2" piece of ginger, finely cut (about 1 full tbsp)
- 1 tbsp rice wine vinegar
- 1 red pepper, finely chopped
To Garnish
- 3 spring onions
- Sesame seeds
- Prawn crackers
Instructions
- First, tenderise the meat with a meat tenderizer.
- Then trim any fat off the meat. Slice the beef into thin strips against the grain of the meat.
- Coat the beef in the cornflour in a closed bag.
- Then fry the beef in the vegetable oil in batches until nicely cooked and with a crispy outside. I do this in my wok. When cooked, remove to a plate.
- Meanwhile mix the soy sauce, sugar, olive oil, garlic, ginger and red pepper together in a saucepan. Bring to a simmer on a low heat for about 10 minutes until the sauce has thickened up. Check the taste and adjust with sugar or vinegar as necessary. Then remove from the heat.
- When all the meat has been cooked return to the wok and then add the sauce. Mix well and reheat in the wok before serving.
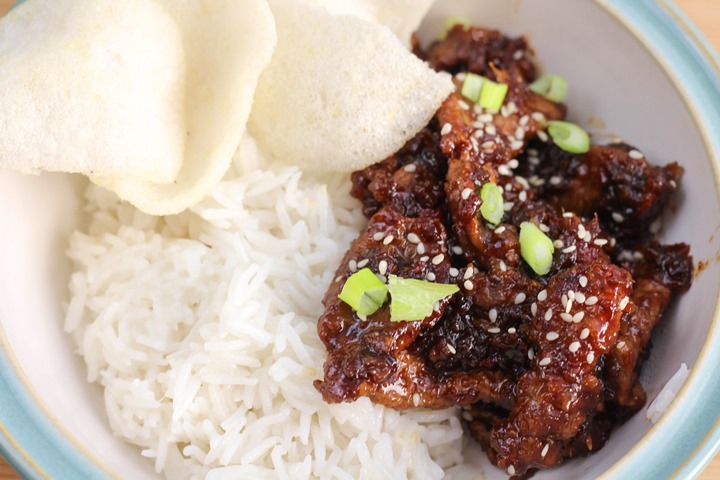
Notes
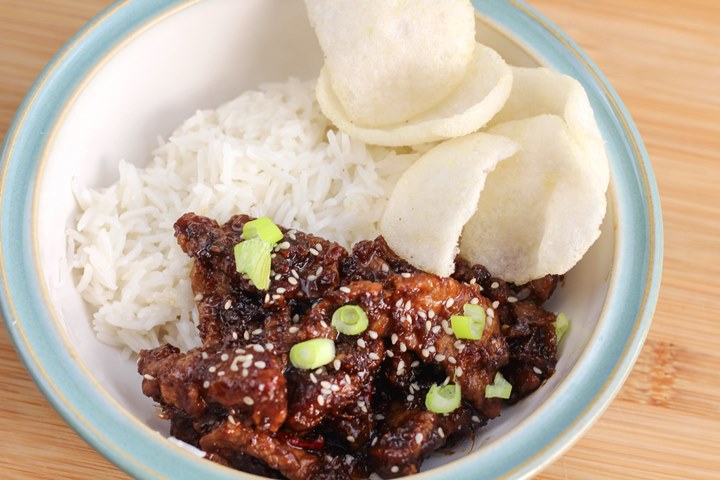
Serve up with some prawn crackers and garnish with some sliced spring onions and sesame seeds.
You can serve this meal with some sesame noodles, or some plain white rice or coconut rice.
Recommended Products
As an Amazon Associate and member of other affiliate programs, I earn from qualifying purchases.


Nutrition Information:
Yield:
4Serving Size:
1Amount Per Serving: Calories: 643Total Fat: 40gSaturated Fat: 10gTrans Fat: 0gUnsaturated Fat: 27gCholesterol: 115mgSodium: 1512mgCarbohydrates: 34gFiber: 3gSugar: 24gProtein: 38g
This nutrition information was automatically calculated by Nutritionix, but may not be 100% accurate.